Enforcer X Build Report
Back To Main
Enforcer X is a heavyweight pneumatic battlebot running full pressure CO2.
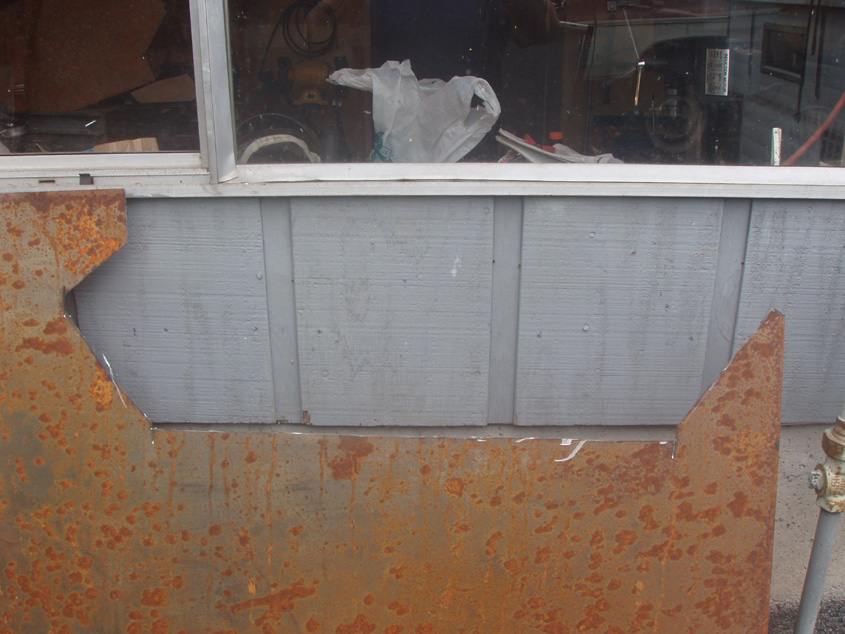
Base plate is 7/16 6061 Aluminum. The rails for the wheels are 1/2" but I'm not sure what I'm doing about the walls just yet.
My first plan is 3/8 aluminum 6061 with .050 Ti on the outside and a 1/4" mild steel rail along the bottom.
I will have to see how the weight goes to see how much I can actually do.
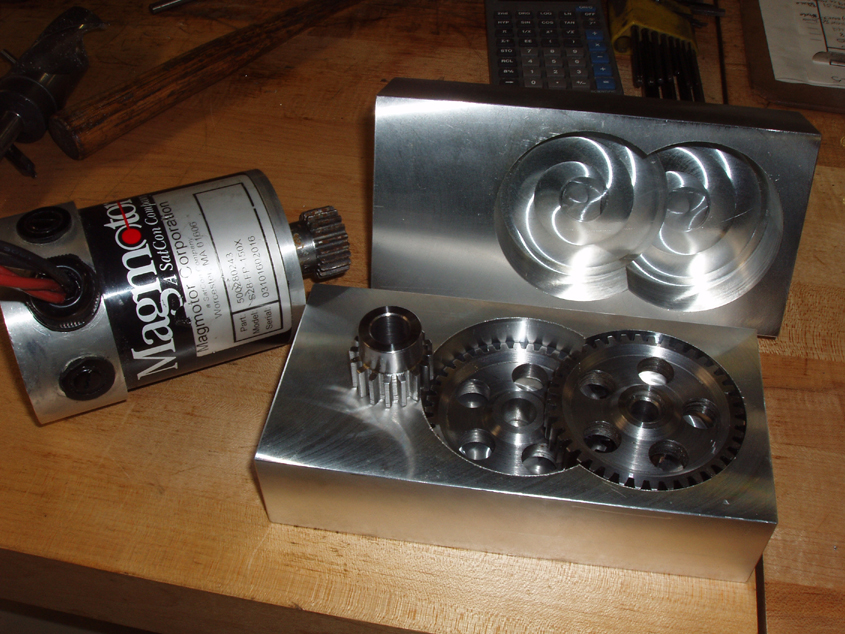
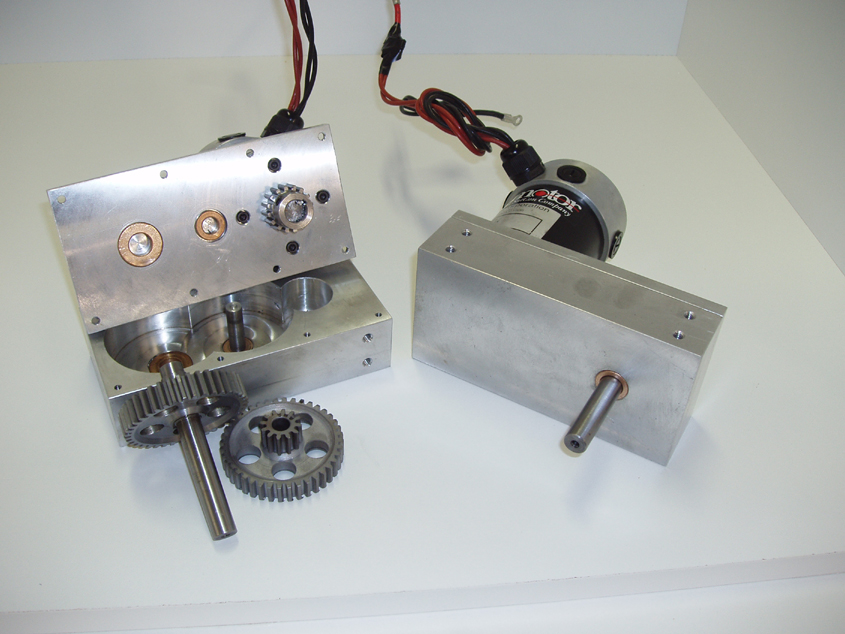
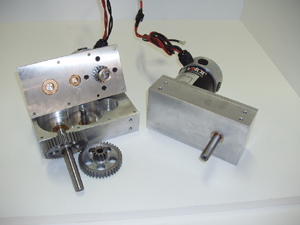
I made some gear boxes for use in Speed Bump XL using Mag S-150 motors.
I designed them to handle the torque of the bigger 7" long motors and now I am using them in enforcer and Speed Bump XL will have to sit in a corner and watch for a while.
I have another set of gearboxes most of the way complete but they are set aside to finish at the end to use as spares.
The ratio of those gearboxes is 8.3:1

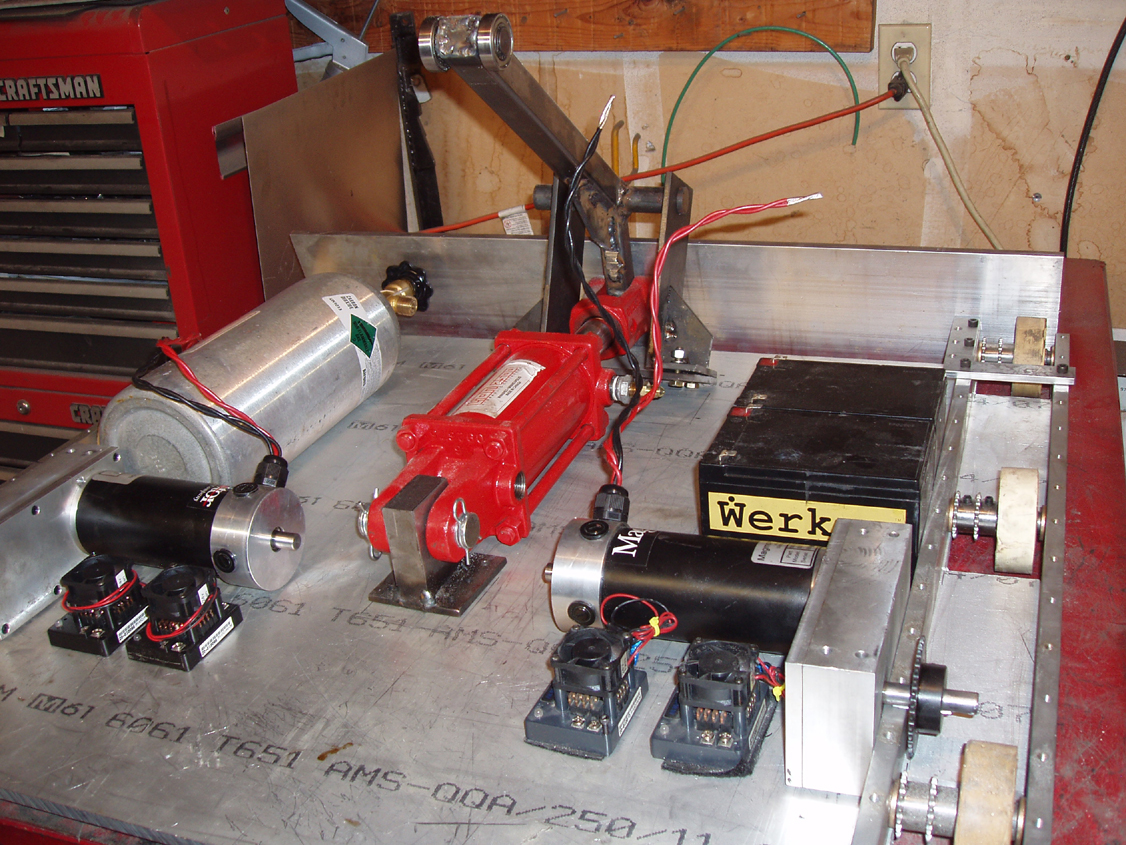
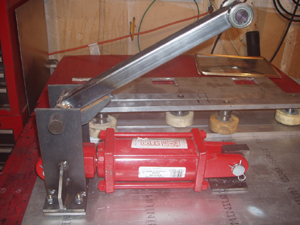
The lifter starts with a 3" hydraulic cylinder rated at 2500PSI. This should allow me to run straight CO2 into the ram. I picked up three of them from www.surpluscenter.com.
The lifter will be lifting the plate in the opposite direction so I added the bearings to reduce the friction between the parts. The mounting pieces are all mild steel so hopefully they will hold up to the pressure.
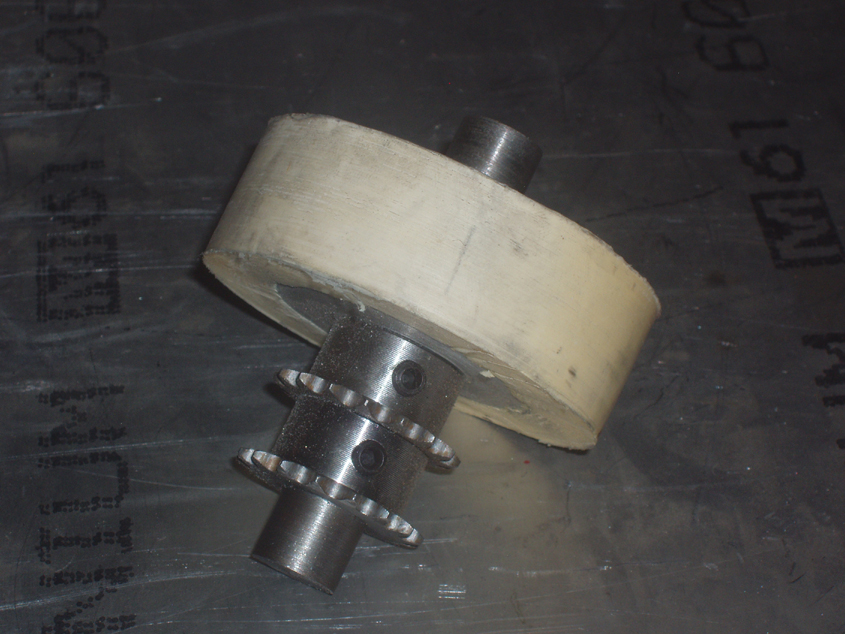
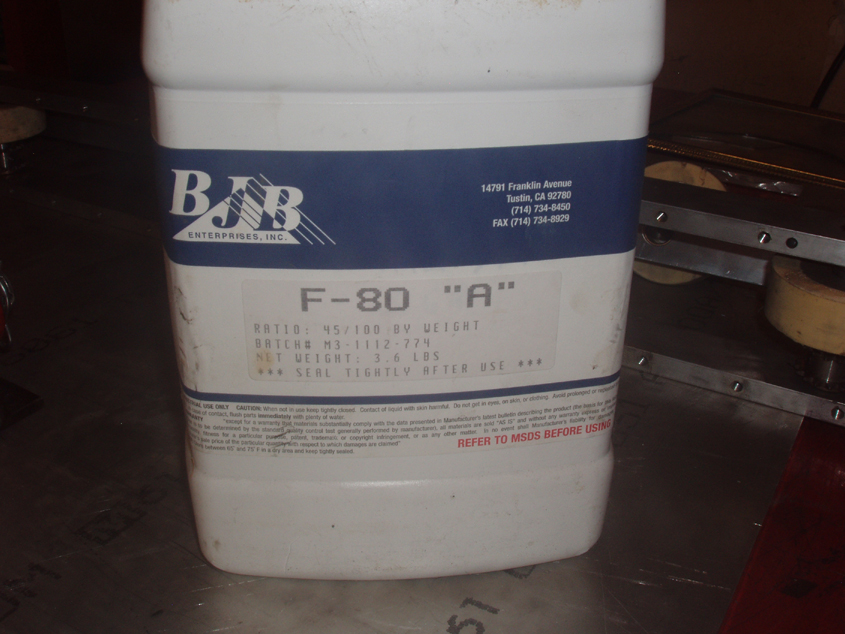
The wheels are made from a steel shaft with sprockets attached and an aluminum wheel hub. The rubber is 80 duron liquid polyurethane.
I started out doing it because I couldn't find wheels I liked when I first started building. Now I often use colsons or other wheels but in this case, I wanted something very specific and this seemed the best way to get there.
As for how, take a piece of plastic larger than the wheel size and deeper than the wheel depth.
Chuck it in the lathe, bore the center the same as your wheel bore, cut the wheel size into the plastic.
If you want treads, run a boring bar with the tip you want on the inside groove.
I have just kept things flat myself. Drill two holes 180 degrees from each other off of center.
(These should be tapped holes) Bolt your wheel hub to the center. The important part is that the wheel hub should not extend beyond the wheel tread so you get a good seal.
Apply wax and/or mold release. Level the mold and pour the polyurethane.
You can pull it from the mold after an hour by screwing bolts you install in the two bolt holes you made earlier.
You then either bake it in the oven for another 4 hours or wait three months for the rubber to cure to the correct hardness.
I usually bake it. The temp should be 250 degrees.
As for the hub. I have used aluminum sprockets with the v groove very effectively. On other hubs I either cut a groove or knurle it. Either way seems to work ok.
I have never used it in a heavyweight though so we shall see what happens when I try skid steering all that weight with a knurled wheel.


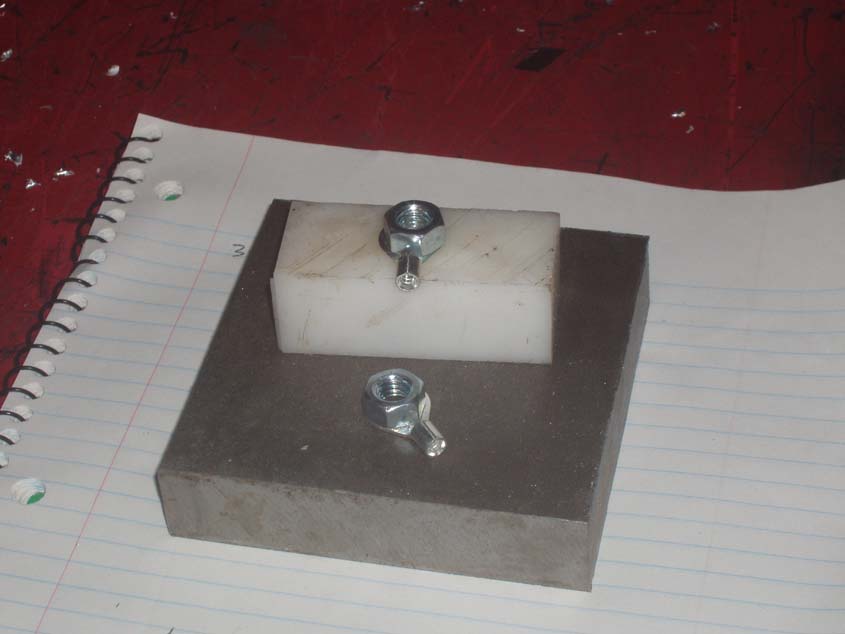
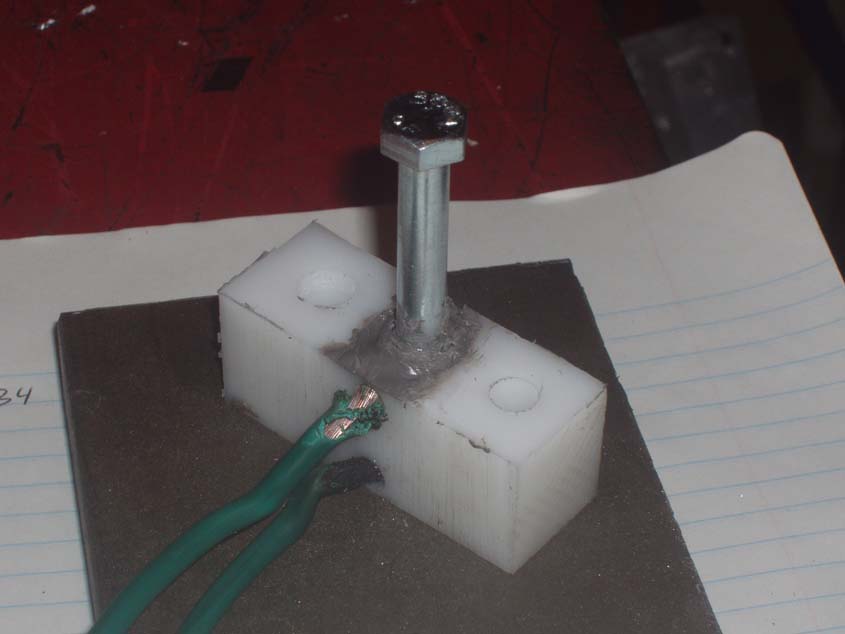
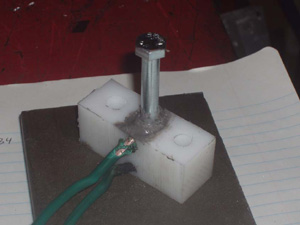
There are two wires. Each one is soldered to a nut. The bolt makes the contact by connecting the two nuts. When the bolt is backed off far enough, there is no contact.

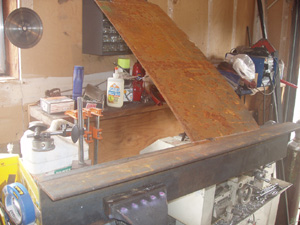
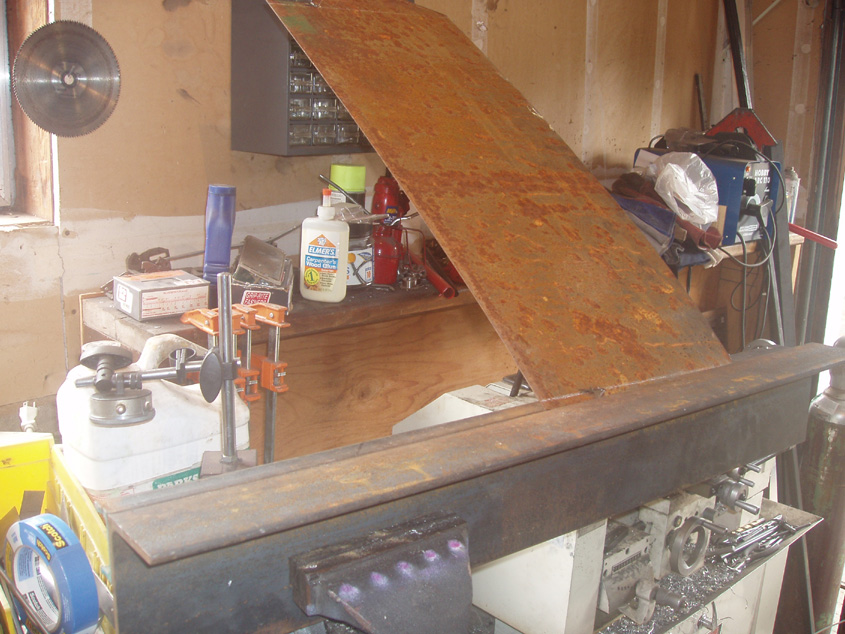
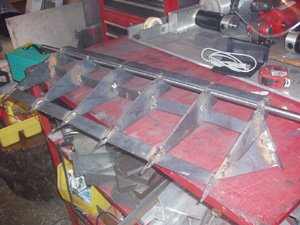
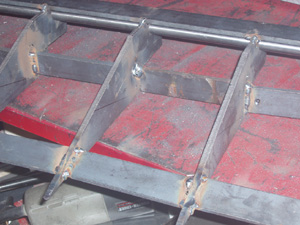
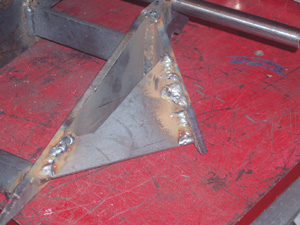
This week I started work on the wedge. I built a framework out of mild steel.
I doubt it will hold together in exteme cases but in the interest of time, it was simple to make.
I will skin it this weekend with 16 gauge sheet and attach it to the front of the robot.
I cut the wedge skin from a sheet of 16 gauge I had around the house. (A different project that never happened)
I used my makeshift bender mounted in a vice to bend the wings down.